New font and tutorial on how to use Photoshop brushes and patterns
- Ana
- Jul 5, 2018
- 3 min read
Hi everyone!
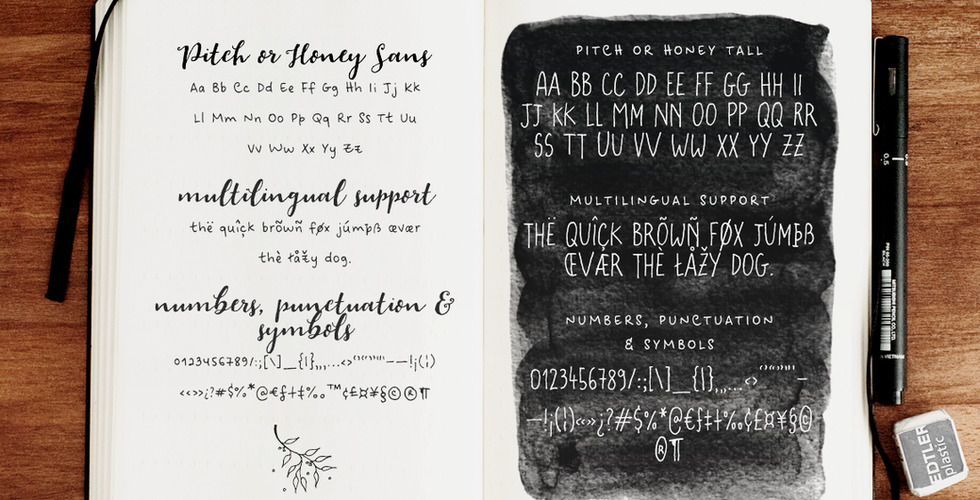
Today I want to introduce you to my newly released font set, Pitch or Honey (it's really a bundle with 3 different fonts, dingbats, ornaments, brushes and seamless patterns... Enjoy!).

It includes:
a faux-calligraphy style script font, with a bonus slant version
a cute sans serif font, in roughly the same height as the lowercase script
a tall, all-caps sans serif font, in roughly the same height as the uppercase script
a set of 52 floral elements, with a bonus filled-in version
a set of 52 ornamental swashes
BONUS! 35 watercolor brushes, in various sizes (around 1000 px) in both .abr and transparent .png formats
BONUS! 10 seamless paper textures, in various sizes (550 to 1000 px), in .pat and .png formats
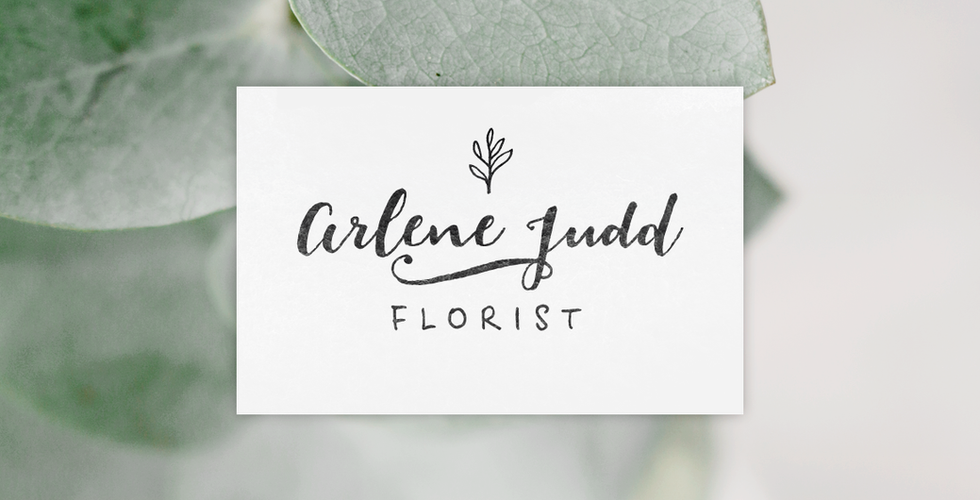
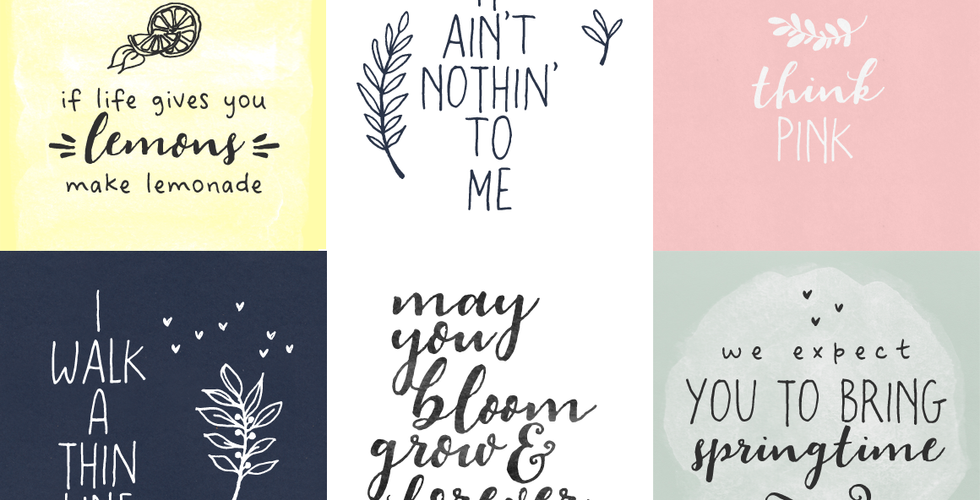
In short, all you need for beautiful and easy designs with a hand-lettered, rustic feel, such as postcards and notes, creating logotypes, social media posts, branding and packaging, etc.
Sound good? You can get it at: CreativeMarket or The HungryJPEG at special intro price until July 10th.
Sound like too much? Wondering how you can use all the extras? No problem! Let me show you some easy steps you can take to make the most of the bonus brushes and seamless patterns, including how to install them (it's so easy!), by showing you how to make this Instagram-ready image.

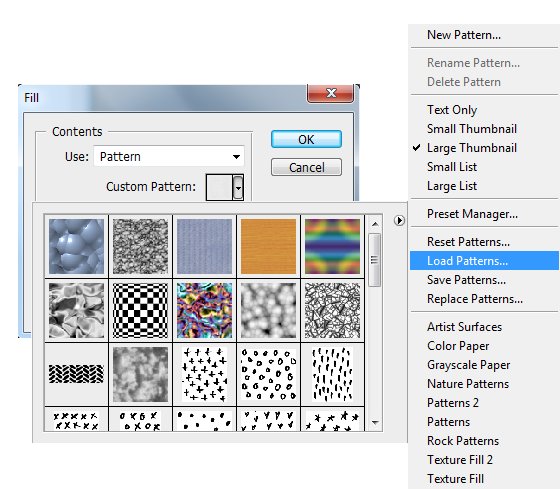
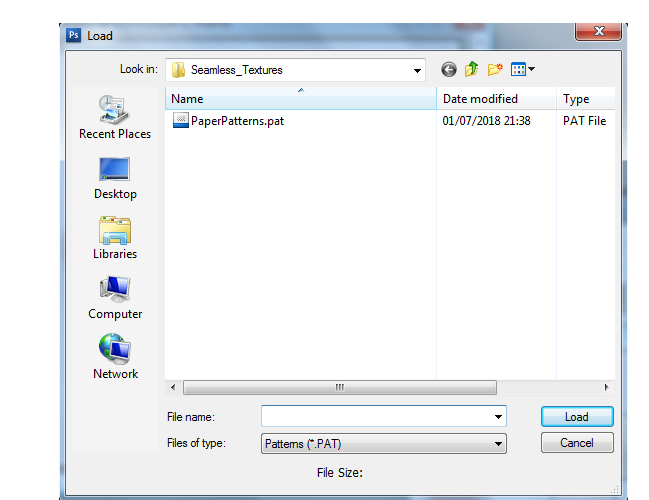
1) We start with a 1280 x 1280 px white canvas, which we will fill with a seamless texture (with a seamless texture, you can repeat a pattern to fill any sized canvas in a smooth way). We start by loading the seamless textures by going to Edit >> Fill >> Use: Pattern >> arrow >> Load Patterns and selecting the file with the .pat extension. Once the patterns are loaded, we choose the one we want to use as the background in our design (the lighter gray one).
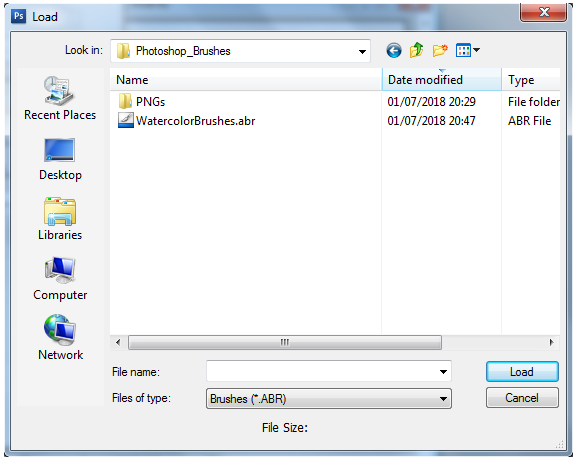
2) Then, we want to add a watercolour that will frame our text. First, we need to load our brush pack, by selecting the brush tool (B) >> Load Brushes and double-clicking the .abr file.
3) Then we select the brush we want to use, select the color we want for our watercolor (in this case, a gray-ish green), add a new transparent layer, and place the brush on our canvas.

4) Then we add our text (from this beautiful Kelly Hogan song), using Pitch or Honey. I add each line of text separately, so that I can play around with how to place the text. Finally, this is what we get.

5) Now it's time to have some fun with our florals and swashes! We can add a swash to underline the last line, and a small floral on top of the design, but this part is really up to anyone's taste and creativity. This is what I came up with.

6) To give the text a more textured look we can add another watercolor brush on top of our design. To do that, we can add a new transparent layer, choose a brush, set the colour to the color of the background (light gray in this case) and click on the area with text. This is what we get.

7) Personally, I find the texture too overwhelming, so I set the opacity to 50%. Et voilà! This is our final result. Easy, right?

If you have any comments or questions, please let me know in the comment section. And please feel free to share any designs you might do inspired by this tutorial. I would love to see them! :)
Have a great day & thanks for reading,
Ana
